|
Plan settings on the Plans page allow to configure template locations, payment intervals and promotions.
To access plan settings:
- Enter the admin Control Panel and select Plans in the Info menu.
- Click the Settings icon in the Advanced section for the target plan.

- On the page that shows you can manage the following options:

This page is reserved for H-Sphere development and
debugging and should not be used in production control panels.
- Plan Name: this is the only place where you can edit
the name of the plan.
- Default Template defines the page that opens when a user
logs into the control panel. To specify a custom page, enter
the file name and the path relative to the template directory.
If your template works incorrectly, you can remove it to
return to the system defaults.
- Template Directory specifies the name of the directory
with templates used by this specific plan. If a template is not found
in this directory, the system takes generic H-Sphere template with the
same filename.
For example, you have a plan called 'SPECIAL', where the Template
Directory parameter is set to special/ and the current skin is set
to 'No Menu'. When the system tries to find, for instance, the
design/login. html template, it will first scan the
~cpanel/shiva/shiva-templates/nomenu/replacements/special/design/
directory, and if fails, it moves on to the
~cpanel/shiva/shiva-templates/nomenu/design/
directory in search of this template.
As seen from the above, the Template Directory parameter is NOT used for
creating custom templates. Instead, when a new plan is added to the
system, plan-specific templates are placed in this directory.
Besides that, when you customize H-Sphere templates, you should
check the replacements/ directory of each design location for
plan-specific templates and customize them if necessary.


Promotions management: assign flexible discounts to the particular plan.
One plan can have several associated promotions.

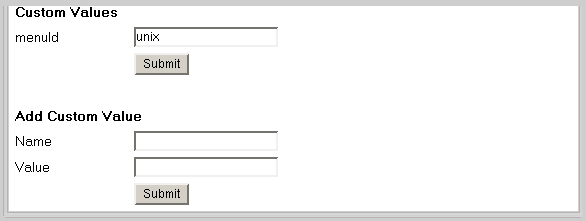
- Custom Values: menuId: in H-Sphere, each plan type has its own corresponding menu configuration.
We use the menuId variable to specify the menu type.
These are the standard menu types for the corresponding H-Sphere plan types:
unix - Unix plan;
admin - Admin plan;
ttadmin - Trouble Ticket Admin plan;
bill - Billing plan;
reseller - Reseller plan;
winduz - Windows plan;
real - Real Server plan;
mysql - MySQL Only plan;
email_only - E-Mail Only plan;
vps - VPS plan.
Note: Menu customization should be done very carefully, according to the
Menu Customization Guide.
WARNING:
If you set an incorrect value to menuId or leave this field empty in the form,
the left menu in your Control Panel won't show up!
- Add custom value: don't add them unless you definitely know how to use them.
|