|
You must have at least one DNS zone in your system. Before you start adding
a DNS zone, make sure to have added the DNS servers with Service IPs.
To add a DNS zone:
- Select DNS Manager in the E.Manager menu:
- Click the Add DNS Zone link:

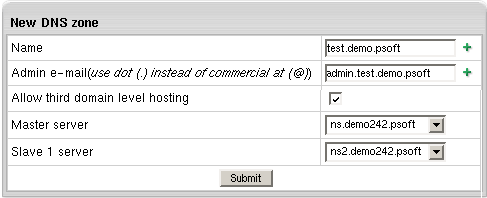
- Enter zone name and zone administrator e-mail and choose whether to allow third level domain
hosting in this zone:

- Name: the name of the DNS zone you are going
to create. If this domain name is not yet registered, don't
forget to register it with a domain registration company.
- Admin e-mail: the e-mail address of this
DNS zone administrator.
- Allow third level domain hosting: allow the creation of lower level domains in
this DNS zone.
- Master/slave server: available only for service
DNS zones - allows you to choose and appoint a master and a slave server. The information
is backed up every hour.
- After you submit the form, the new zone appears in the DNS
Manager table:

|